
There are a few ways you can host your custom JavaScript for your D365 portal within the portal configuration.
- Circumvent the System Settings and allow JS files to be uploaded to D365. The default system settings disallow JS files from being uploaded to D365. If you remove the JS extension from this list you can upload the files to D365. However, this is not ideal because it exposes your whole environment to malicious JS files potentially being uploaded.
- Change the file extension on your JS files. Although D365 won’t allow JS files because of the reason mentioned above, you can change the extension of the file, for example, .AXD. You are now able to attach the file to the Notes in your Web File and you can still give your web file a Partial URL ending in .JS. The JavaScript file will still be accessible as normal through the SCRIPT tag.
- My preferred option uses a similar technique to that used to return JSON responses from FetchXML queries in a Web Template. If we enter the JavaScript code directly in a Web Template and set the MIME Type to application/javascript we can use that Web Template in a page, with no header/footer, to serve up our custom JavaScript.
Step 1. Create the Web Template

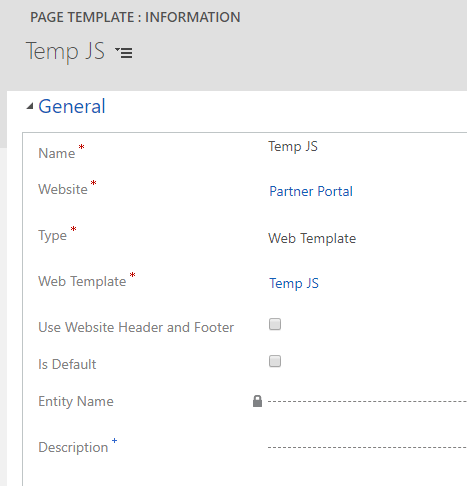
Step 2. Create the Page Template with no header/footer
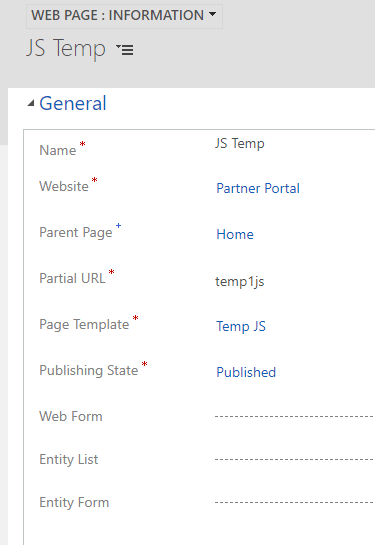
Step 3. Create the JavaScript ‘Page’
Step 4. Create the a regular Portal Page and embed the SCRIPT tag to request the custom JavaScript

The result is that the JavaScript file is served from D365 and the functions run as normal.

Obviously, if you have access to a CDN then you can upload them to there and add the necessary tags to your portal Pages, Web Templates etc.

Pingback: D365 Portals : X-Content-Type-Options Header | GP23 Consulting